Design, Light, and Navigation
Things I learned today: -Navigation for AI -More unique post processing effects -Pressing P to show Navigation in map -Setting timers in events -Getting random points in a navigable radius -Animation Blueprints -Animation Blendspaces -Get Hit Result of the cursor -Setting Inputs
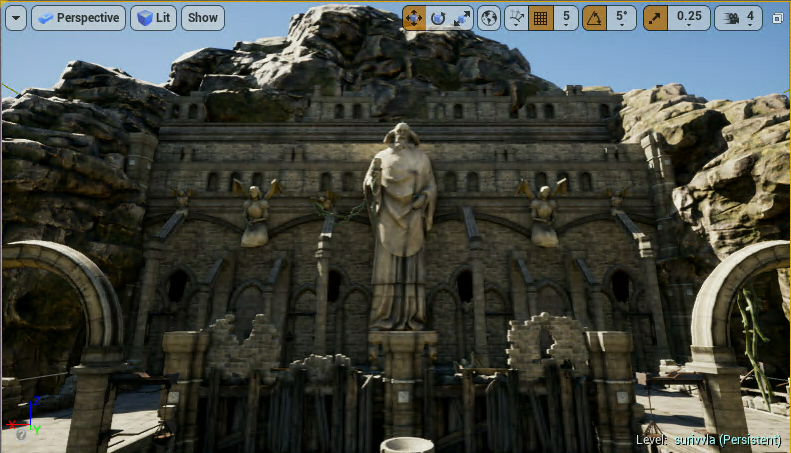
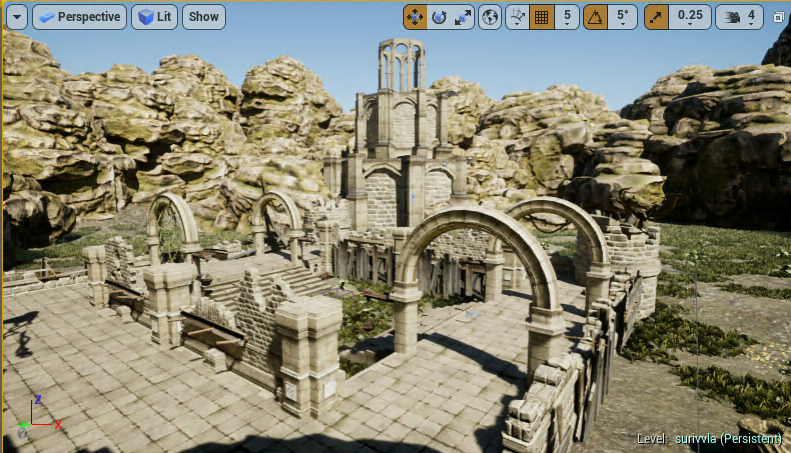
Today, we finished building the castle exterior and map layout from yesterday’s work and started base character stuff. First, we finished placing all the interior layout pieces. That includes; duplicating the side of the wall onto the other wall, putting more details, vines, walls on the other walkway blocks, tower pieces, and vines/other floral. I also made (myself) a moving water texture for the fountain and put a block inside the fountain so it’s filled for the water. We also added some supports to make it look more “realistic”. After all the decorating was done we moved on to the map.
The map needed to have more rocks behind the rocks we had already to make it better looking. This wasn’t too hard, but some of the rocks look weird so I had to rotate and place some differently, a lot. Next, I placed a little structure thing in the distance on the map that looks like columns. Next, we got to the fun part.

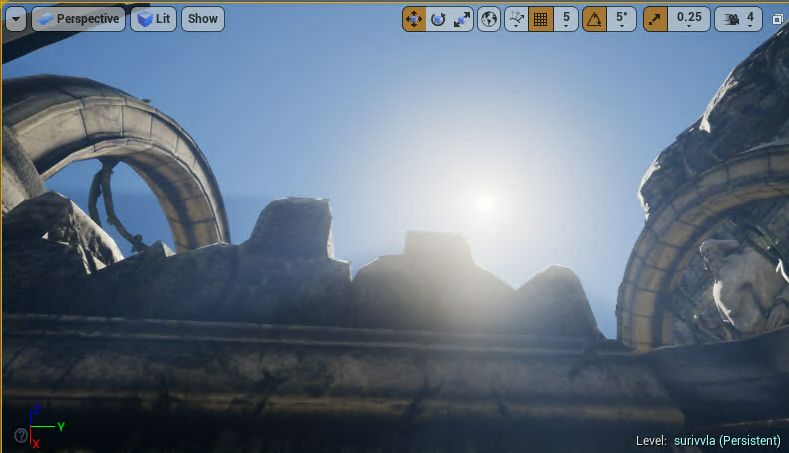
The fun part is the lighting and post processing. We made the scene have god rays that are visible throughout the map, a more of yellow tint like actually light, bloom, ambient occlusion, better shadows, and more.
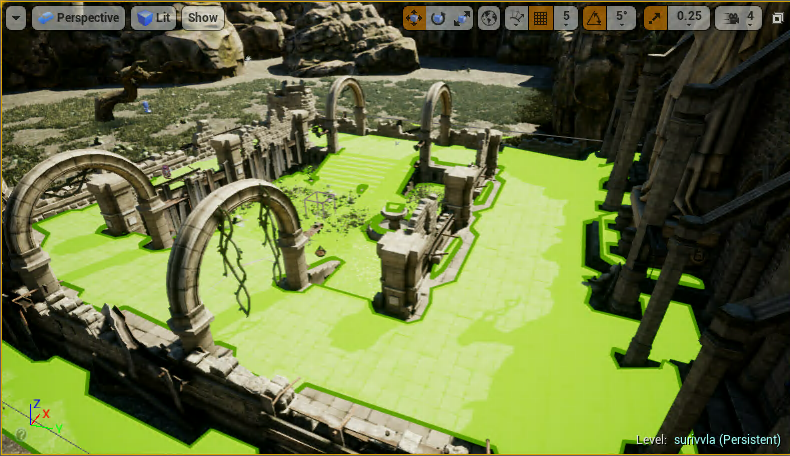
Next, we got into AI. We made an AI Controller and made a NavMeshBoundsVolume then fit it to the map. It automatically generates the location where AI can move and you can see that by pressing P. Next, we made a character controller and player blueprint that has a model and camera and everything in it. Then, we made an animation blueprint that holds our locomotion of animations for the player and blends between them in a complete motion.