Post Processing & Camera Sequencing
Today, I continued the Udemy course, Unreal Engine 4: How to Develop Your First Two Games. Last time, I stopped at the start of the post processing effects. At the beginning, we went over the lighting again by adding more advanced lights. He went over the parameters the lights, spotlights, we used. Parameters include; light intensity, inner cone diameter, outer cone diameter, etc. Some were more advanced for what we wanted so we didn’t use those features. Then after we put all the lights we wanted, we added a thing called a Light Mass Importance Volume. This volume basically tells the engine that it wants these lights/objects to be more important than the rest. So, the sun and room lights have more of an impact on the room. After that, we put a Light Mass Portal where the sliding door is. Making the sun have a more of an effect on the room objects. Making it more realistic. After we did that, we started on the post processing, finally.
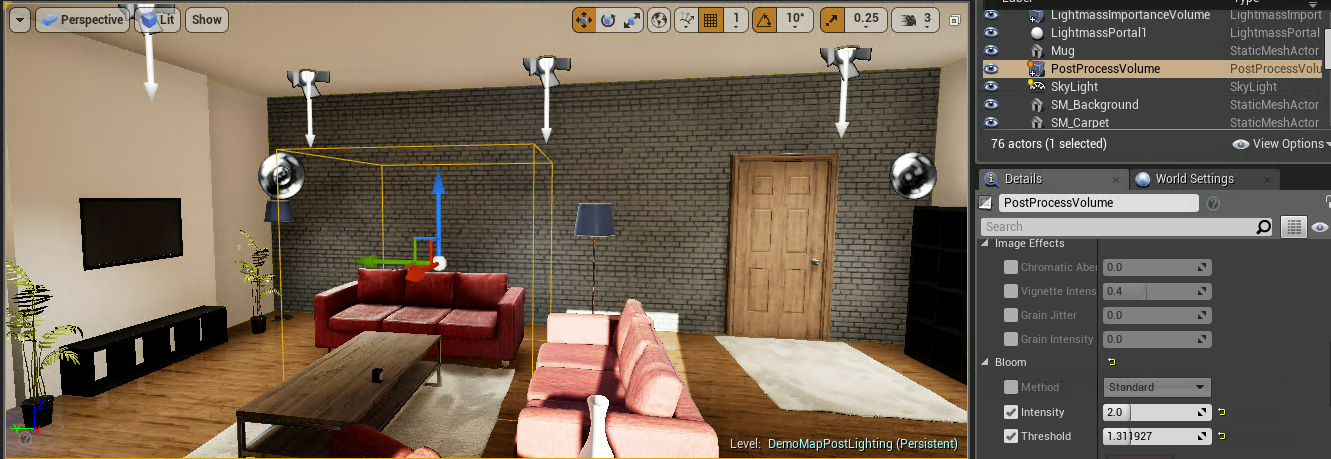
The first part of the post processing section included adding a thing called a Post Process Volume.

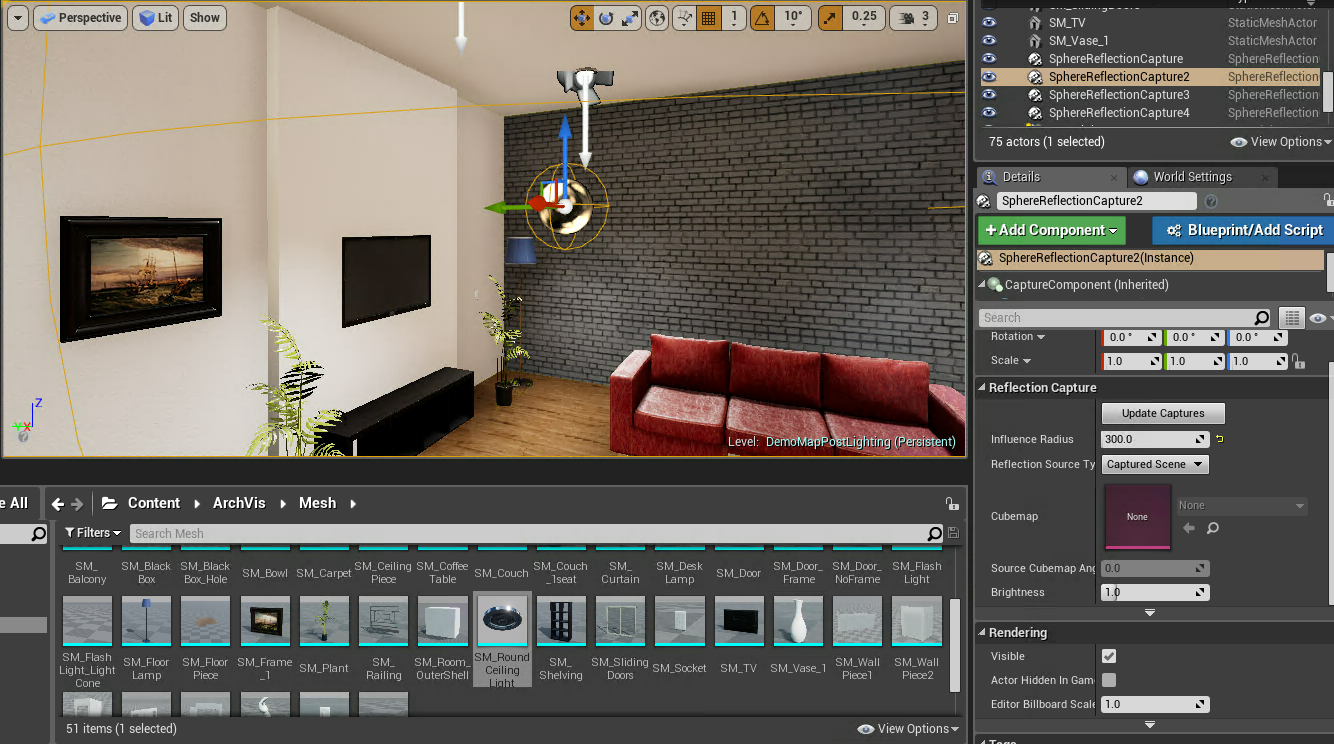
This volume renders all the post processing in an area, but you can set the boundaries to off so it’s everywhere in the level. Which is what we did since it’s only a small room. Then this volume has LOADS of different parameters/values. The most useful ones we used was the Bloom section. You can change the color of 4 different tints to make one ultimate tint, you can change the threshold on the bloom, the intensity, and many more that are insane details. Then, we added a thing called a Sky Light which renders reflections in the world. After, we added things called Sphere Reflection Captures.

These “orbs” capture the reflections in the level and the more you move towards a certain part, the more the reflection expands on certain objects. These were a cool tool to use.
After all the post processing was done, we created a cool camera sequence which the camera pans throughout the room. This was simple to understand, but it broke and was really fidgety. You have to have the timer key on the right time or you have to redo your animation. But, basically only have to make a couple camera movements at certain times and the sequencer blends it automatically, which is a really good thing. After we finished, I made mine different which is good since mine was better since it panned around the back couch to look at the paintings and look out the window, we made it autoplay at the start of the game.